Any iPhone that shoots Live Photos can turn one into a long exposure from the effects menu in the Photos app.
Adobe's free Project Indigo camera app now has a dedicated Long mode that stacks many frames into one picture.
Indigo offers an Average style for water and clouds and a Blend style for light trails and fireworks.
The Indigo mode does not align frames, so the phone must sit completely still, ideally on a tripod.
Quick read · 2 min
You can take a long exposure on iPhone for free in two ways. The built-in route: shoot a Live Photo with the phone held still, open it in Photos, tap the Live Photo effects control near the top and choose Long Exposure. It works on the iPhone 6s and later and is ideal for fountains, streams and traffic.
The more serious route arrived this week. Adobe's free Project Indigo app now has a dedicated Long mode that stacks frames into one image while you watch it build in the viewfinder.
Average style smooths water and clouds and can erase passing people.
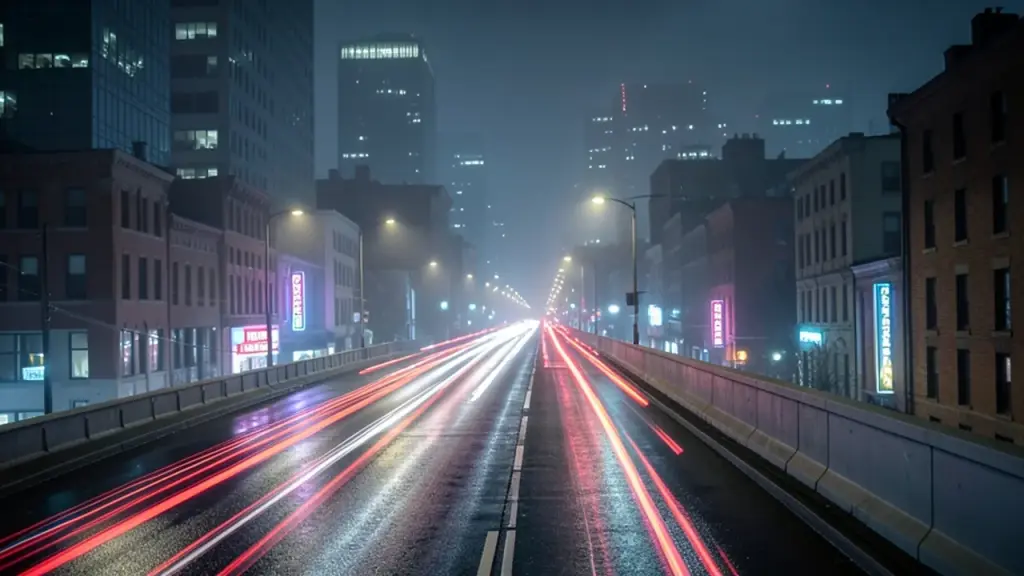
Blend style keeps light trails, fireworks and light painting bright.
It runs on the iPhone 12 Pro, 13 Pro and every iPhone from the 14 series on, with iOS 18.5 or later.
The catch: Indigo does not align frames in this mode, so the phone must stay completely still on a tripod. For light trails, Adobe advises a shutter speed slower than 1/30 of a second.
Your iPhone already knows how to turn a rushing river into mist. The trick is hidden in the Photos app, inside the Live Photo effects menu, and most people never tap it. This week Adobe added a second, far more serious option: a dedicated Long Exposure mode in Project Indigo, its free experimental camera app.
So here is the short answer to how to take long exposure on iPhone. For a quick result, shoot a Live Photo with the phone held still, open it in Photos and pick the Long Exposure effect. For light trails, fireworks or a waterfall you plan to print, put the phone on a tripod and use Indigo’s new Long mode. Both are free. Below are the steps for each, which iPhones can run them, and the mistakes that ruin most attempts.
01
How to take long exposure on iPhone with the built-in Live Photo effect
The built-in method works on any iPhone that can take Live Photos, which Apple lists as the iPhone 6s and later. A Live Photo captures the moments around your tap, 1.5 seconds on each side, and Photos can blend those moments into one blurred image.
Open the Camera app, stay in Photo mode and make sure Live Photo is switched on. It is on by default.
Rest the phone on something solid, or use a tripod. Apple’s own advice for Live Photos is to hold the device still.
Frame something that moves, such as a fountain, a stream or traffic, then take the picture.
Open the shot in Photos and tap the Live Photo effects control near the top of the screen.
Choose Long Exposure from the options. The others are Loop and Bounce.
To find older candidates, open Photos, go to Collections, scroll to Media Types and tap Live Photos. Any moving scene you already shot can be converted the same way. One warning from Apple: if you edit the picture in another app, the effect can be lost, so apply it in Photos first.
02
Why your iPhone can’t just leave the shutter open
A traditional camera makes a long exposure by keeping its shutter open for seconds at a time. An iPhone can’t do that well. Adobe researchers Florian Kainz and Marc Levoy explain that small phone sensors lose quality fast as exposures stretch, and a single iPhone exposure tops out at one second.
So phones fake it. The Camera app’s Night mode already merges several short frames into one bright picture. The Live Photo effect and Indigo’s new mode use the same basic idea, stacking many frames to build what Adobe calls a virtual long exposure. The difference is control: Live Photos give you a fixed slice of time, while Indigo lets you decide how long the capture runs.
Owners of the newest phones have a little more room. The iPhone 18 Pro’s own Camera app now offers manual shutter speed and ISO, with shutter speeds of up to a second. That is enough to soften car lights on a city street, but not enough for a truly glassy waterfall.
03
Adobe Project Indigo’s Long mode, step by step
Indigo first shipped in 2025 with a basic long exposure option tucked inside Night mode. The update moves it to its own mode, called Long, which sits beside Photo and Night. The viewfinder shows the picture building up while it captures, so you can watch the blur form and stop when it looks right.
Install Project Indigo from the App Store. You can also reach it from Lightroom Mobile by turning on its Tech Preview setting.
Mount the phone on a tripod. The Long mode does not align frames before merging them, so any movement shows up as blur across the whole shot.
Switch to Long.
Choose how many frames to capture. An infinite setting allows more than 1,000 frames and keeps going until you stop it yourself.
Pick a merge style: Average or Blend (explained below).
Start the capture, watch the preview and stop when the effect looks right. Indigo may need a few seconds to process the result.
Files can be saved as JPEG, raw DNG or both, which matters if you plan to edit the shot later in Lightroom.
Average or Blend: which style fits your shot
The choice of style decides how the frames are combined, and picking the wrong one is the easiest way to get a dull result.
Average takes the mean of all frames. Adobe recommends it for waves, waterfalls and fast-moving clouds. Because people and cars passing through only appear in a few frames, it can also wipe them out of a crowded view.
Blend combines the averaged image with the peak brightness every pixel reached during the capture. Short flashes of light stay bright instead of fading as more frames pile up, which makes it the pick for fireworks, lightning, car light trails and light painting.
A quick rule: if the moving thing is water or sky, use Average. If the moving thing is a light, use Blend.
04
Which iPhones can run Project Indigo, and what it costs
Indigo is free. It needs iOS 18.5 or later and runs on the iPhone 12 Pro and 13 Pro models plus every iPhone from the 14 series onward. Adobe suggests an iPhone 15 Pro or newer for the best experience.
On the iPhone 18 Pro and Pro Max, Indigo can also use the main camera’s variable aperture. Closing it down from the default f/1.8 to f/2.8 or f/4.0 cuts the incoming light by roughly 2.4 or 4.9 times. In bright conditions that can stand in for a neutral density filter, the darkened glass that photographers use to stretch exposures in daylight.
Indigo is a research app rather than a polished product, and Adobe is open about that. The company describes Long Exposure as less automatic than what phone users expect and says its manual controls may intimidate beginners. If you get lost, a reset to auto puts things back.
Most failed attempts come down to a moving phone or the wrong subject. These habits fix most of them.
Keep it locked down. A tripod is best, and even a cheap one with a phone clamp works. With no tripod, prop the phone against a book or a cup and use the Camera app’s three-second timer so your tap doesn’t shake it.
Don’t try Indigo’s Long mode handheld. The Indigo team says handheld capture is not supported yet in this mode, and an early tester’s handheld light-trail attempts showed exactly why.
Go slower for light trails. Indigo records at most 30 frames per second, so Adobe advises a shutter speed slower than 1/30 of a second for trails. Faster than that and the trails show gaps.
Stay on real lenses. Indigo’s super-resolution zoom steps are off in Long mode, so stick to the 0.5x, 1x and telephoto cameras.
Look for light at night. Busy streets, shop windows, fairground rides and holiday lights give a long exposure something to draw with. A pitch-black field gives it nothing.
Use the main camera when you can. It usually has the largest sensor and the best stabilization, so walk closer instead of switching lenses.
Expect some trial and error. Adobe says the mode is meant for pictures taken with deliberate intent, not quick snapshots, so plan for a few test runs before the shot you keep.
What’s next for long exposures on iPhone
Adobe’s team says it is looking at three ideas: shooting the Milky Way when there is no moon, bracketed exposures, and long exposures that work handheld. None of those has a date. For now, the Live Photo effect is the fastest route on any recent iPhone, and Indigo’s Long mode is the free way to get results that look like they came from a dedicated camera.
06
Quick answers
Does iPhone have long exposure?
Yes. Take a Live Photo, open it in Photos and choose the Long Exposure effect. The iPhone 18 Pro Camera app also offers manual shutter speeds of up to a second.
Can you take a long exposure on iPhone without a tripod?
The Live Photo effect can work if you rest the phone on something steady. Project Indigo’s Long mode does not support handheld shots yet, so it needs a tripod or a solid surface.
Is Project Indigo free?
Yes. Adobe’s experimental camera app is free on the App Store for the iPhone 12 Pro, 13 Pro and every iPhone from the 14 series on, running iOS 18.5 or later.