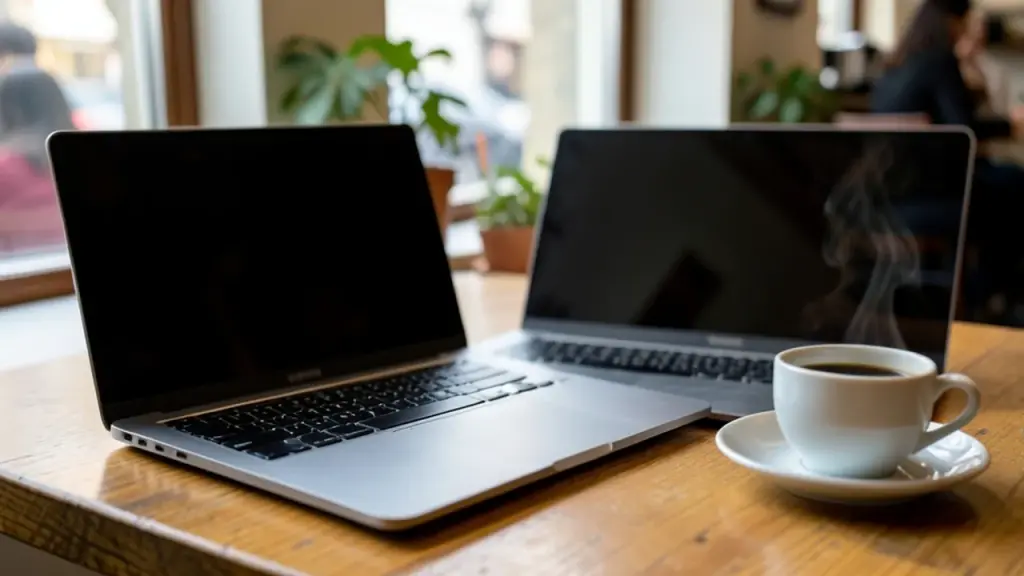
On Windows, the spare laptop needs a free add-on from Microsoft before it can receive a picture.
On the spare laptop (the one that will act as the screen):
- Open Settings, choose System, then go to the page called Projecting to this PC.
- Pick Optional features, then View features, and search for the add-on named Wireless Display.
- Tick its box, press Next and then Install.
- When it finishes, head back to the projection page and choose Available everywhere so other PCs can find the laptop.
- Launch the Wireless Display app. The quickest way is to type its name into the taskbar search box.
Microsoft says that app exists on Windows 11 version 22H2 and later. On older versions, search for the Connect app instead and open that.
Now go to your main computer:
- Press the Windows key + K. A list of nearby displays appears.
- Pick the spare laptop from that list.
- Type in the PIN it shows, and allow keyboard and mouse input if you want to control things from either machine.
If you’d rather click than use shortcuts, type Cast into Windows search and choose the option to connect to a wireless display. You’ll find the same option in Display settings, under the section for multiple displays.
Switching between mirror and extend
Once connected, press the Windows key + P on the main PC to pick a display mode. Choose duplicate to mirror, or extend for one wide desktop. You can switch at any time without reconnecting.
If the spare laptop doesn’t show up
Microsoft’s advice is simple: check that Wi-Fi is turned on for the spare laptop, and that the Wireless Display app is installed and actually open.
The catch with this method is lag. Everything travels over Wi-Fi on both machines, so expect a slight delay. It’s fine for spreadsheets, email and a wall of browser tabs, but it isn’t the best choice for fast games.