Blurry images usually come from a dirty lens, poor lighting, or camera movement, not bad hardware alone.
A quick lens clean, proper lighting, and smart focus tricks can dramatically improve sharpness.
If you want more control, third-party camera apps and a small tripod help, especially in dim light.
Quick read · 1 min
Blurry iPhone photos usually come from a dirty lens, poor lighting, or camera motion. Clean the lens, improve lighting, and lock focus to reduce blur. Consider a tripod or a camera app with manual controls for tougher shots.
Why it matters: sharper photos are easier to share and keep. What happens next: apply these steps on your next photo session, and if blur continues in challenging lighting, add a small stabilizer or use a manual camera app for better control.
Blurry photos happen more often than you’d expect, especially with iPhones. If you snap a shot and it comes out soft, you don’t need a new device to fix it. Start with a few basics, then add a couple of targeted tweaks for sharper results.
Most blur isn’t caused by the camera itself but by small habits or settings you can adjust in minutes. A dirty lens, less-than-ideal lighting, or camera shake are the usual culprits. Taking a moment to tidy up the lens, improve the lighting, and use focus controls can make a noticeable difference.
01
Clean the lens and check your setup
First, inspect the lens for smudges. Remove any case if you’re using one, wipe the glass with a clean microfiber cloth, and avoid abrasive materials that could scratch the lens. If smudges persist, a tiny amount of distilled water on the cloth can help, but never apply liquid directly to the lens.
02
Control light and exposure
Low light makes it harder for the camera to focus and often forces longer shutter times, which invites motion blur. If a scene is dim, bring in more light or move to a brighter spot. Night Mode can help brighten dark scenes, but a well-lit setting still yields the cleanest results. Consistent lighting also helps the camera lock focus and reduces noise after you snap.
03
Lock focus and reduce motion
One quick fix is to lock focus. Tap on your subject and hold until AE/AF LOCK appears. This keeps the camera from refocusing mid-shot. For moving subjects, try a faster shutter or burst mode to catch a crisp moment. If your device supports it, Night Mode can stay on in low light, but it may brighten the scene automatically, which affects contrast and sharpness.
04
Choose the right resolution and frame rate
You can adjust resolution and frame rate in Settings > Camera. Higher settings generally produce crisper stills and smoother video, but they also demand more light and steadiness to avoid blur, especially with handheld shots.
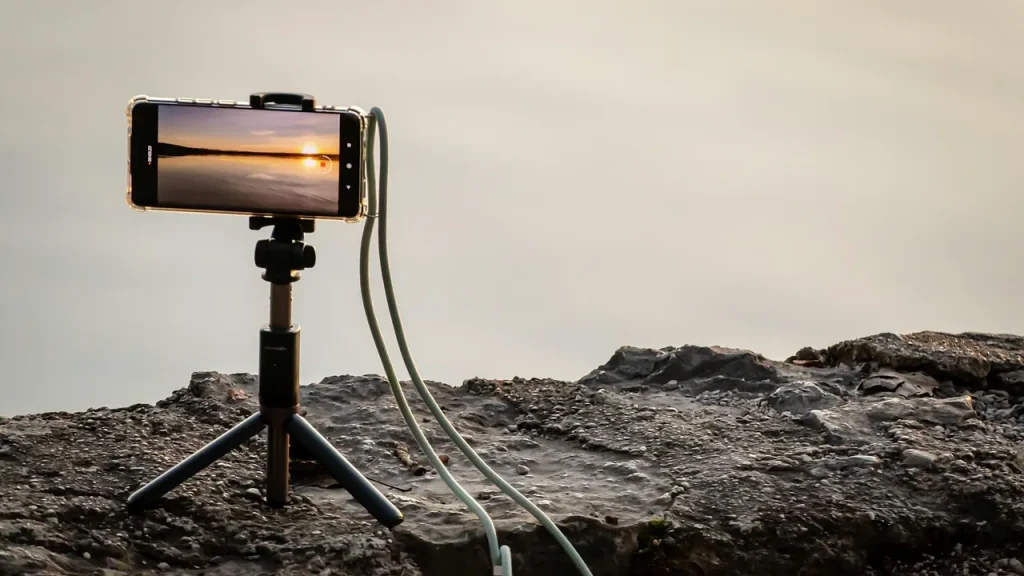
A small tripod or a stable surface can make a big difference, especially in dim rooms or when shooting longer exposures. If you don’t have a tripod, brace your arms and elbows against your body or a solid object to steady the camera while you shoot.
06
Consider a camera app for more control
Third-party camera apps can give you direct control over shutter speed, ISO, and focus, letting you tailor exposure and sharpness beyond what the stock app offers. This can be especially helpful on older iPhone models where manual tweaks matter more.
07
What this means for everyday users
For most people who take lots of photos with their iPhone, a clean lens, better lighting, and a touch of focus control will deliver noticeably crisper images without buying new gear. If you frequently shoot in tricky lighting, a compact tripod or a small stabilizer can be a worthwhile addition and make a real difference in your shots.
08
What happens next and practical tips
Try this sequence next time you shoot: wipe the lens, find a brighter spot, lock focus on your subject, and shoot from a steadier stance. If blur persists in tough situations (low light, fast action, or close-ups), consider a simple tripod or a camera app with manual controls. Revisit these steps after your next photo session and notice where your photos improve.
09
Quick answers
What should I check first for blurry iPhone photos?
Look for and clean any smudges on the lens with a microfiber cloth.
Does Night Mode fix sharpness?
Night Mode helps brighten dark scenes, but a stable setup and good lighting still matter for sharpness.
Is a tripod worth it?
Yes, a small tripod is an inexpensive way to dramatically reduce camera shake in tricky shots.
New safety guidance warns that common PLA and resin printers can release airborne particles and gases in small spaces. Here’s what to know before you print at home.
A practical guide to wireless backup cameras for older vehicles: how they transmit video, power them, and what features you’ll miss compared with factory kits.
3 min read
We use cookies to understand how readers use Talk With Tech, so we can make it better. Is that OK? Privacy policy
The Daily Brief
Today's biggest tech stories, in 5 minutes
Every morning, the news that matters from AI, phones, apps and the people shaping tech. Explained in plain English. Free.
One email a day. No spam, unsubscribe anytime. Privacy policy